Legal disclosure: Neon commissioned me to develop the following db-per-tenant migration tool and blog post.
In this tutorial, we are going to build a basic notes application using a database-per-user database architecture with Ruby on Rails. This means that each user has their own database that can individually scale.
Installation
Firstly, make sure you have at least Ruby 3.1 installed:
➜  ~ ruby --version
ruby 3.2.3 (2024-01-18 revision 52bb2ac0a6) [x86_64-linux-gnu]
If you do not have a compatible version, you may need to install rbenv and then use that to get the latest Ruby release. rbenv is suggested to stop any weird behaviours that a system package manager may cause.
At this point, install the rails gem using gem install rails.
From here, we can make a new Rails project with rails new --database=postgresql note-taking. We will make it using Postgres as the database so that we can setup Neon easily:
➜  ~ rails new --database=postgresql note-taking
      create
...
After this is done, we should have a Hotwired application running on the latest release of Rails. Note: to use Postgres, you may need to install your OS’s dependency for it (libpg-dev in the case of Linux).
Configuring the users database
From here, we will install dotenv. This will allow us to more convieniently manage our environment variables, including our connection string. To do this, add this to Gemfile:
# Use .env to manage database credentials.
gem 'dotenv', groups: [:development, :test]
And then run bundle to install this dependency. From here, we should edit config/database.yml and under default add the USERS_DATABASE_URL environment variable:
default: &default
  adapter: postgresql
  encoding: unicode
  # For details on connection pooling, see Rails configuration guide
  # https://guides.rubyonrails.org/configuring.html#database-pooling
  pool: <%= ENV.fetch("RAILS_MAX_THREADS") { 5 } %>
  url: <%= ENV["USERS_DATABASE_URL"] %>
From here, we can make a .env.development file (which will be auto-ignored by the gitignore) and add the database URL to it:
USERS_DATABASE_URL=<neon url here>From here, we can run rails db:migrate to setup the database with the ActiveRecord internal information and then rails s to start the development environment up.
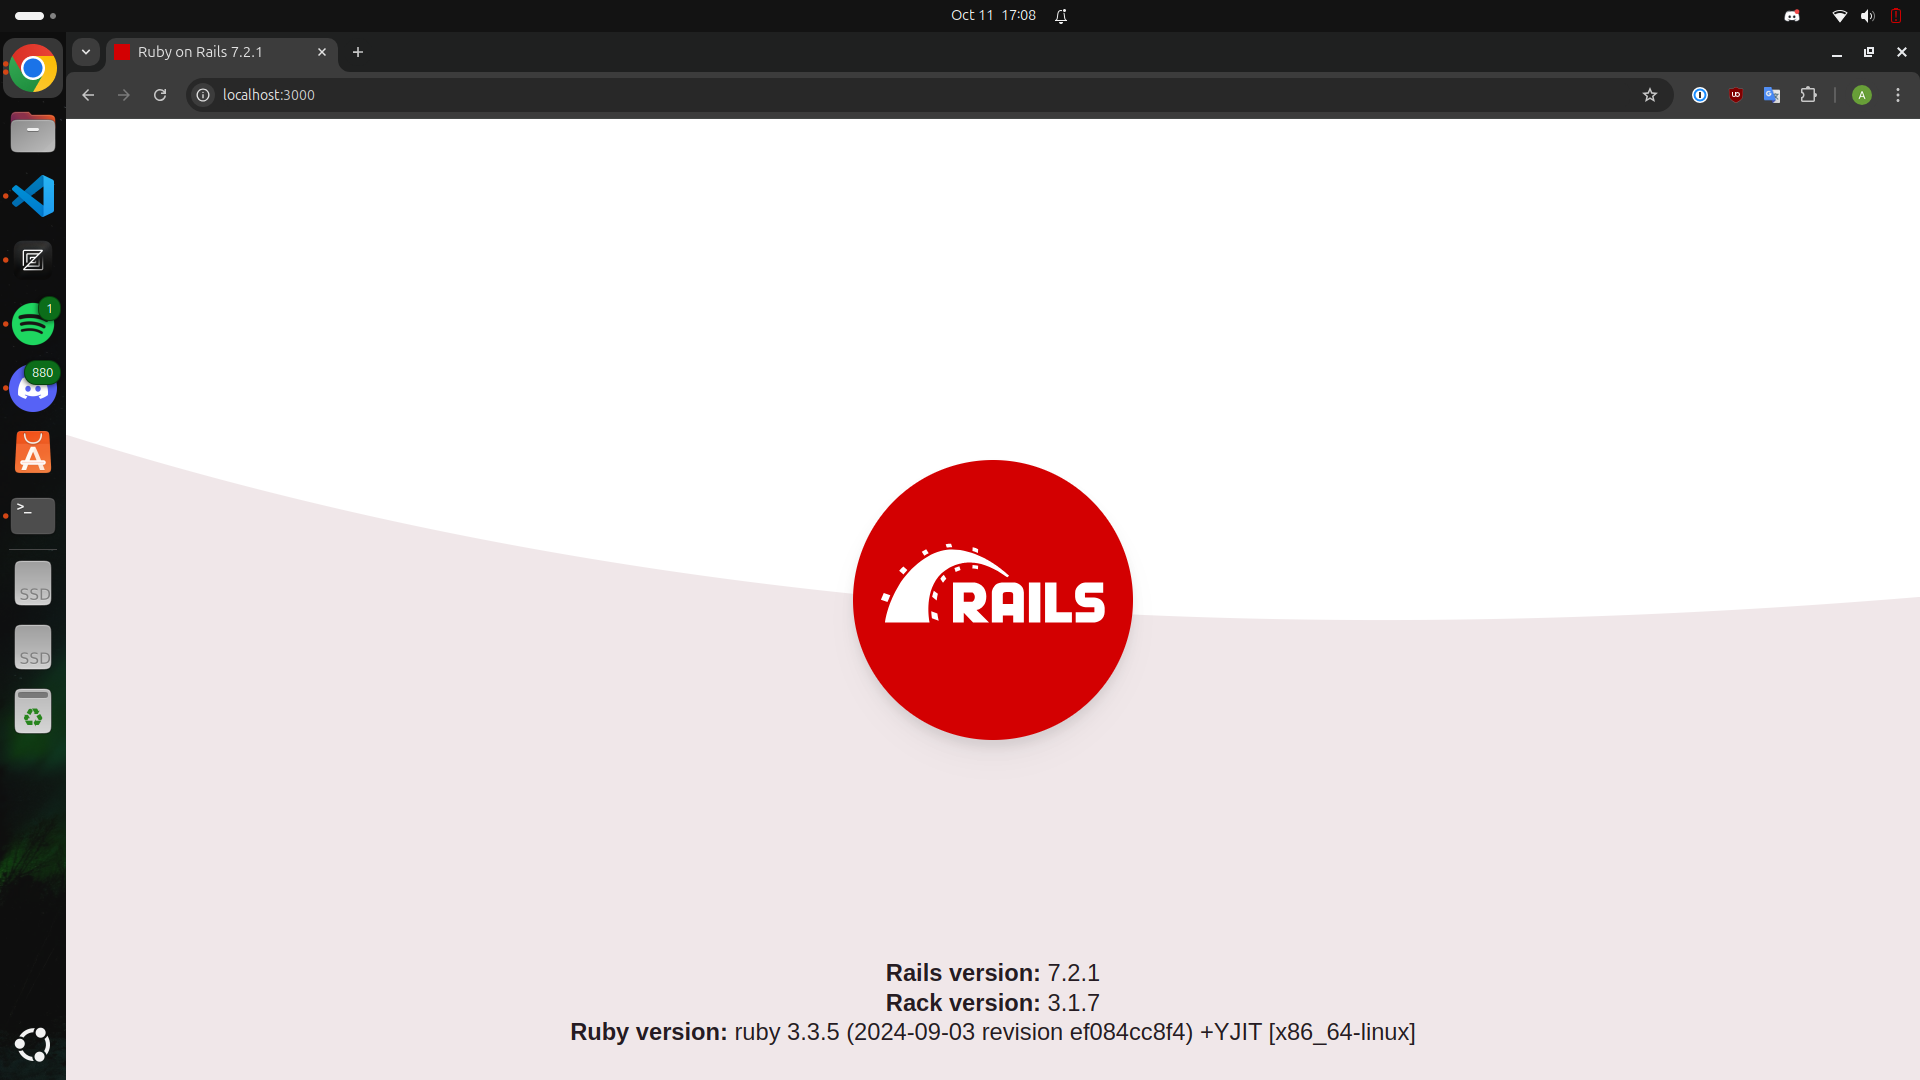
From here, you should have a working rails environment that we can develop with:
Making the User model and tieing the multi-DB architecture into it
To setup the User model, we are going to want to setup Rails using the devise framework. This will allow us to easily be able to setup user authentication within our application. To do that, add the following to your Gemfile then run bundle:
# Add devise authentication
gem 'devise', '~> 4.9.4'
From here, we need to run rails g devise:install to install devise specific files into our project.
Now we have done that, lets generate a model for the User and attach authentication to it. We will give the database information as JSON to the record. This is where we will store the users database information:
➜  note-taking git:(main) rails g model User database_information:json
      invoke  active_record
      create    db/migrate/20241012124645_create_users.rb
      create    app/models/user.rb
      invoke    test_unit
      create      test/models/user_test.rb
      create      test/fixtures/users.yml
➜  note-taking git:(main) rails g devise User
      invoke  active_record
      create    db/migrate/20241012124742_add_devise_to_users.rb
      insert    app/models/user.rb
       route  devise_for :users
Next, we will run rails db:migrate to store our changes and add database_information to config/initializers/filter_parameter_logging.rb:
# Be sure to restart your server when you modify this file.

# Configure parameters to be partially matched (e.g. passw matches password) and filtered from the log file.
# Use this to limit dissemination of sensitive information.
# See the ActiveSupport::ParameterFilter documentation for supported notations and behaviors.
Rails.application.config.filter_parameters += [
  ...,
  :database_information,
]
So now we have our users, but what about our notes? Let’s add logic to put each user’s notes in a separate Postgres database.
There are several advantages to this database-per-tenant architecture:
- Security by Design: There is less risk of harm due to accidentally destroying/fetching other customer’s data. This is because instead of worrying about multiple columns when you do things to a user’s notes, you just have to think about one. Additionally, you have less risk of someone finding another users notes ( for example, by decrementing their own note ID) since the user’s notes are pulled from the signed in record.
- Data Compliance: If in the future we wanted to deploy in a region that the user specifies for compliance reasons (for example, an American user might want to deploy in America if you have a point of presence there due to latency reasons, but a European user might want to deploy in Europe due to Neon’s GDPR compliance), this is a drop down box away with this architecture. Additionally, data compliance is significantly easier here. Want to add GDPR exports? Just dump out the entire database. Want to delete a user without worrying about errors due to foreign keys within your large database? Just delete the database (and we will tie this to the User record in this tutorial).
- Competitive Advantage: With the multi-database model, you don’t have to worry about leaking information that whilst it may not be sensitive to your users, is quite revealing about your company. For example, in this case, you might be able to figure out the companies user retention by taking a publicly sent customer count and then comparing it to the note ID since it is auto-incrementing with ActiveRecord.
The main tradeoff with this model is that migrations become more complex, although we’ll show how this can be managed with careful branching and scripting.
To do this, we are going to need to make a few network requests to the Neon API. Since net/http is capped to HTTP/1.1, we are going to use httpx to do this faster. Add this to your Gemfile and then run bundle:
# Add support for higher than HTTP/1.1 clients.
gem 'httpx', '~> 1.3.1'
We want to create a database and tie it to this record until it is destroyed. In case we later want to make a database per another entity (for example, one per organisation), we will make this a concern that we can share across anything that needs it. To do this, we will remove app/models/concerns/.keep and create a multi_tenant.rb file there to manage this:
require 'httpx'

module MultiTenant
    extend ActiveSupport::Concern

    included do
        # Sets the branch to base content on. This is optional.
        class_attribute :base_branch_id

        # Sets the database name. This is required.
        def self.database_name=(database_name)
            @@database_name = database_name
        end

        # Gets the database name or errors if it doesn't exist.
        def self.database_name
            raise Exception.new('self.database_name is required to be set') if @@database_name.nil?
            @@database_name
        end

        # Create the database before the user that might need it.
        before_create :create_database

        # Since this record is the owner of the database, we want to destroy this
        # before the record is destroyed. This means we will know it is gone before
        # returning a potentially misleading success.
        before_destroy :destroy_database

        # Use this database for all ActiveRecord actions within the block.
        def database(&block)
            # Get the original configration.
            original_config = ActiveRecord::Base.connection_db_config

            # Establish a new connection.
            branch_id = self.database_information['branch_id']
            db_url = self.database_information['database_url']
            config = ActiveRecord::DatabaseConfigurations::UrlConfig::new(
                Rails.env, branch_id, db_url, { adapter: 'postgresql' },
            )
            ActiveRecord::Base.establish_connection(config)

            # Call the block.
            block.call if block_given?
        ensure
            # Revert back to the previous configuration.
            ActiveRecord::Base.establish_connection(original_config)
        end

        private

        # Get mandatory variables. You can replace this if you want to use Rails secrets.
        def self.get_mandatory_variable(var)
            e = ENV[var]
            raise Exception.new("#{var} is required to be set") if e.nil? || e.empty?
            e
        end

        # Creates the database in the Neon API.
        def create_database
            # Get everything needed to build the request.
            api_token = self.class.get_mandatory_variable('NEON_API_TOKEN')
            project_id = self.class.get_mandatory_variable('NEON_PROJECT_ID')
            role_name = self.class.get_mandatory_variable('NEON_ROLE_NAME')
            role_password = self.class.get_mandatory_variable('NEON_ROLE_PASSWORD')
            database_name = self.class.database_name
            branch_id = self.class.base_branch_id
            body = {
                'endpoints' => [
                    {
                        'type' => 'read_write',
                    },
                ],
            }
            body['branch_id'] = branch_id unless branch_id.nil?

            # Start by branching off from the base branch.
            project_id_enc = CGI.escape(project_id)
            url = "https://console.neon.tech/api/v2/projects/#{project_id_enc}/branches"
            resp = HTTPX.post(
                url, headers: { 'Authorization' => "Bearer #{api_token}" },
                json: body,
            )
            resp.raise_for_status

            # Get the database information.
            branch_json = resp.json
            endpoint = branch_json['endpoints'].find { |e| e['type'] == 'read_write' }
            self.database_information = {
                'branch_id' => branch_json['branch']['id'],
                'database_url' => "postgresql://#{role_name}:#{CGI.escape(role_password)}@#{endpoint['host']}/#{CGI.escape(database_name)}?sslmode=require",
            }
        end

        # Destroys the database in the Neon API.
        def destroy_database
            api_token = self.class.get_mandatory_variable('NEON_API_TOKEN')
            project_id = self.class.get_mandatory_variable('NEON_PROJECT_ID')
            project_id_enc = CGI.escape(project_id)
            branch_id_enc = CGI.escape(self.database_information['branch_id'])

            url = "https://console.neon.tech/api/v2/projects/#{project_id_enc}/branches/#{branch_id_enc}"
            HTTPX.delete(
                url, headers: { 'Authorization' => "Bearer #{api_token}" },
            ).raise_for_status
        end
    end
end
We should now add this into our User record object:
class User < ApplicationRecord
include MultiTenant
# Defines the user branch ID. If unset, just uses the default branch. Useful for development.
self.base_branch_id = ENV['USER_BASE_BRANCH_ID']
# Defines the database name for the base schema.
self.database_name = ENV['USER_DATABASE_NAME']
# Include default devise modules. Others available are:
# :confirmable, :lockable, :timeoutable, :trackable and :omniauthable
devise :database_authenticatable, :registerable,
:recoverable, :rememberable, :validatable
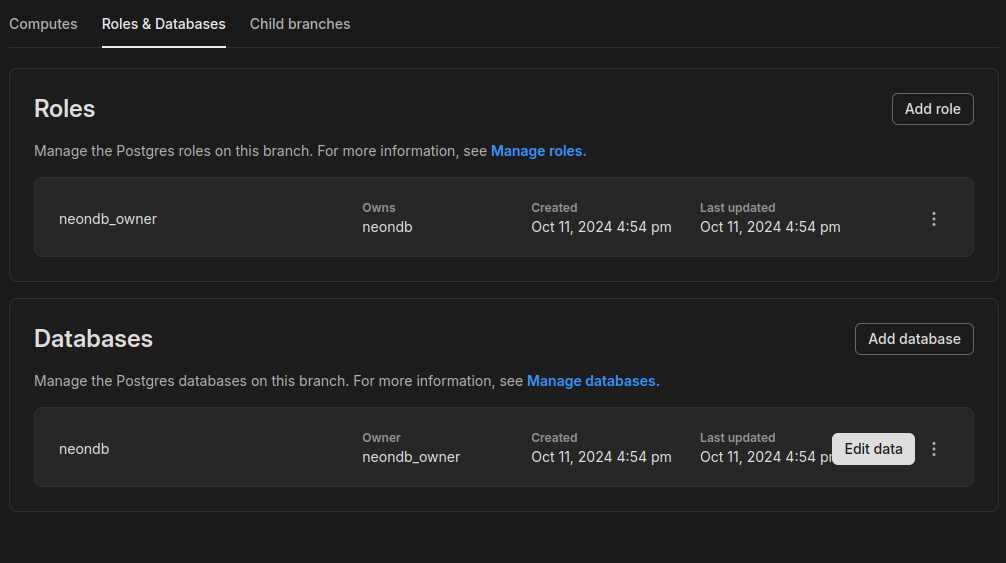
endNow we should go over to the branch we want to base off (in this case, main, but in staging this might be develop or something else) and select it on the dashboard. We should then add a role:
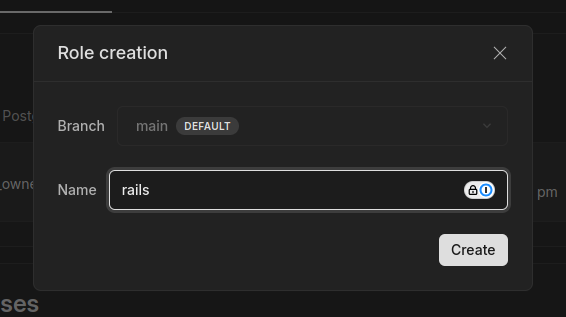
When you get to the success screen, you should add this into the .env.development file:
# Defines the role for the database-per-tenant architecture.
NEON_ROLE_NAME=<role name>
NEON_ROLE_PASSWORD=<role password>
Now we should make the user database and set the owner to this role:
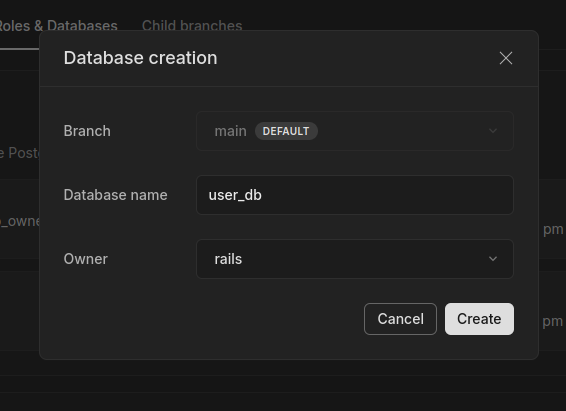
Now we should set the database name and other Neon information (you can find the project ID in settings and API tokens in account settings):
# Set the user database name.
USER_DATABASE_NAME=user_db

# Defines the Neon API token and project ID.
NEON_API_TOKEN=<api token here>
NEON_PROJECT_ID=<project ID here>
Great! Now we have a User that represents the lifetime of the database tenant. When the user is destroyed, the database will be too.
Building the Note record and handling migrations
To build the Note model, we will firstly just make the model in a traditional way:
➜  note-taking git:(main) rails g model note title:text body:text
      invoke  active_record
      create    db/migrate/20241013152402_create_notes.rb
      create    app/models/note.rb
      invoke    test_unit
      create      test/models/note_test.rb
      create      test/fixtures/notes.yml
However, before we migrate the records, we need to handle migrations. To do this, we will use neon-bulk-migrator. To do so, we need to add the following to database.yml:
tenant:
  <<: *default
  url: <%= ENV["CONNECTION_URL"] %>
  migrations_paths: db/tenant_migrations
We should source .env.development into our terminal so we don’t have to repeat all the environment variables:
source .env.developmentYou should also copy config/environments/production.rb to config/environments/tenant.rb to prevent a load warning.
This will allow us to perform migrations. Now we need to move the migration this made (db/migrate/<date>_create_notes.rb) to db/tenant_migrations/<date>_create_notes.rb, and we can run the bulk migrator:
neon-bulk-migrator \
    --migrate-command-name="bin/rails db:migrate RAILS_ENV=tenant" \
    --rollback-command-name="bin/rails db:rollback RAILS_ENV=tenant" \
    --main-connection-url=$USERS_DATABASE_URL \
    --neon-api-key=$NEON_API_TOKEN \
    --neon-project-id=$NEON_PROJECT_ID \
    --neon-role-name=$NEON_ROLE_NAME \
    --neon-role-password=$NEON_ROLE_PASSWORD \
    --neon-database-name=$USER_DATABASE_NAME \
    --table-branch-column="database_information->>'branch_id'" \
    --table-connection-column="database_information->>'database_url'" \
    --table-id-column="id" \
    --table-name="users" \
    --tenant-schema-connection-url=$USERS_DB_SCHEMA_URL
Building the routes
For the next part, we are going to add before_action :authenticate_user! to the application controller. This is because most of our functionality wil rely on it.
class ApplicationController < ActionController::Base
  ...

  # Ensure the user is authenticated
  before_action :authenticate_user!
end
Now we will make the NotesController:
➜  note-taking git:(main) rails g controller notes
      create  app/controllers/notes_controller.rb
      invoke  erb
      create    app/views/notes
      invoke  test_unit
      create    test/controllers/notes_controller_test.rb
      invoke  helper
      create    app/helpers/notes_helper.rb
      invoke    test_unit
From here, we will add a new index by adding this to config/routes.rb:
# Make the root the main application page.
root "notes#all"
and just a simple hello world to app/views/notes/all.html.erb:
<h1>Hello World!</h1>From here, when you go to /, we will see a user login screen. Lets sign up and then we will get our first user. If we open rails c, we will be able to see this:
➜  note-taking git:(main) rails c
Loading development environment (Rails 7.2.1)
note-taking(dev)> User.first!
  User Load (204.5ms)  SELECT "users".* FROM "users" ORDER BY "users"."id" ASC LIMIT $1  [["LIMIT", 1]]
=> #<User id: 1, ...
Now we are going to build the controller for this view. Note that in production you likely would want to add pagination to the accessing of notes to improve page load time. We want to access within the database block since this will handle the db-per-tenant behaviour:
class NotesController < ApplicationController
    def all
        @notes = current_user.database do
            Note.all.pluck(:id, :title)
        end
    end
end
Now we will update the HTML to make this a basic listing:
<h1>Notes</h1>
<p>
    You have <%= pluralize @notes.length, 'note' %>.
</p>

<ul>
    <% @notes.each do |note| %>
        <li>
            <a href="/notes/<%= note[0] %>">
                <%= note[1] %>
            </a>
        </li>
    <% end %>
</ul>

<p>
    <a href="/notes/new">
        New Note
    </a>
</p>
Now we will make a simple new notes page. Write this to app/views/notes/new.html.erb:
<h1>New Note</h1>

<% if @note.present? %>
    <ul>
        <% @note.errors.full_messages.each do |message| %>
            <li><%= message %></li>
        <% end %>
    </ul>
<% end %>

<%= form_with do |form| %>
    <%= form.label :title, 'Title' %>
    <%= form.text_field :title %>
    <div style="display: block; margin-top: 1rem; margin-bottom: 1rem">
        <%= form.label :body, 'Body' %>
        <%= form.text_area :body, size: '70x5' %>
    </div>
    <%= form.submit %>
<% end %>
We can now add this to config/routes.rb:
# Add the new form handler.
get "notes/new", to: "notes#new"
post "notes/new", to: "notes#create"
get "notes/:id", to: "notes#show"
And add the create method to the controller:
    def create
        @note = current_user.database do
            Note.create(params.permit(:title, :body))
        end
        return render :new, status: :bad_request if @note.errors.any?
        redirect_to "/notes/#{@note.id}"
    end
And we will want to add constraints to our Note model:
class Note < ApplicationRecord
    validates :title, presence: true, length: { minimum: 2 }
    validates :body, presence: true, length: { minimum: 2 }
end
Next, we’ll add the show method to the controller:
    def show
        @note = current_user.database do
            Note.find params[:id]
        end
    end
And then make app/views/notes/show.html.erb:
<h1><%= @note.title %></h1>

<p><pre><%= @note.body %></pre></p>

<p>
    <a href="/">Show all notes</a>
</p>
You now have a basic database-per-tenant notes application using Ruby on Rails!
Conclusion
In conclusion, whilst this method of database storage still has its tradeoffs which you need to consider, this shows a new way of storing data that offers different data protection, data integrity, and potentially cost benefits since each user can be individually scaled up and down without needing to worry about noisy neighbours.